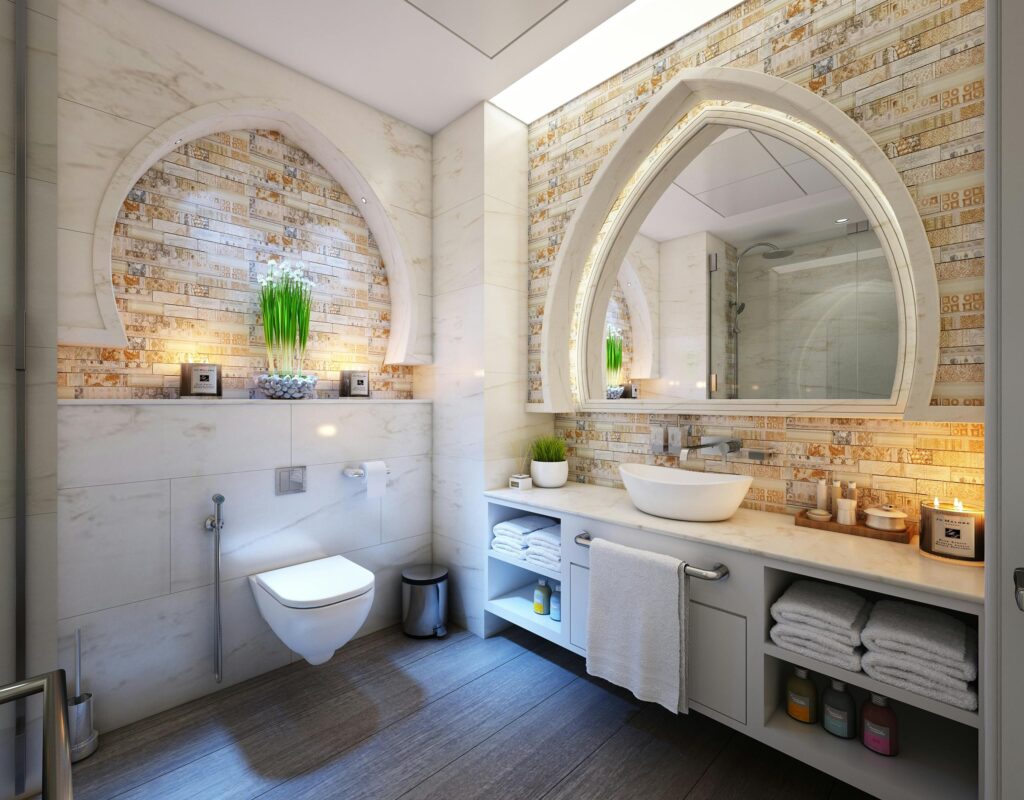
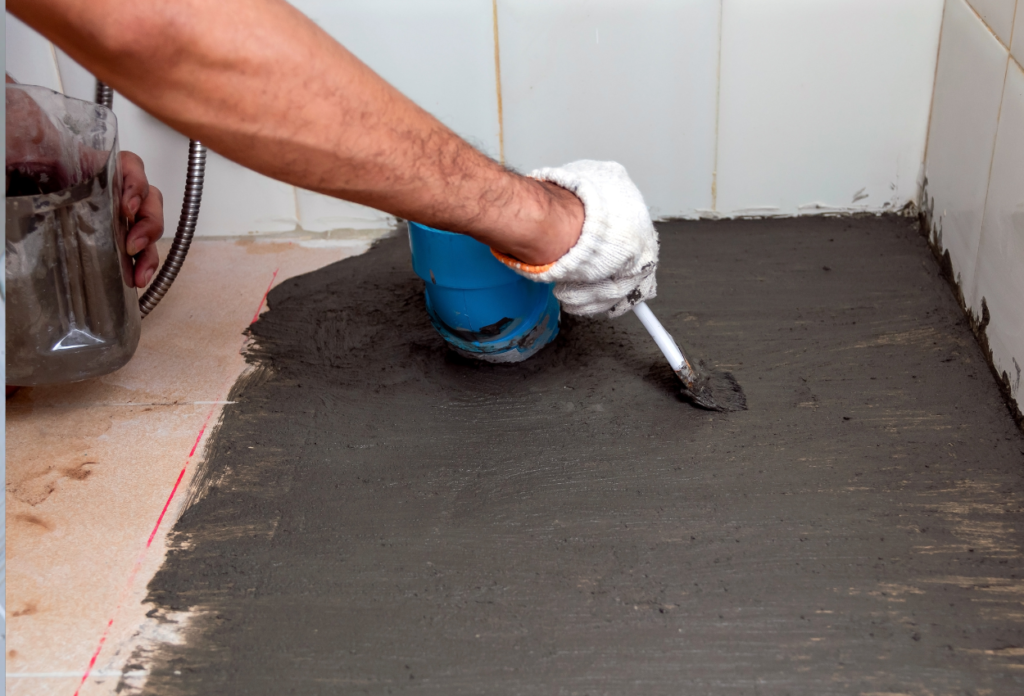
While the idea of waterproofing a bathroom yourself may seem daunting as a novice, take heart that with proper planning and product selection, achieving leak protection success is very feasible. Still, it bears noting that imperfect installation places any bathroom at risk for moisture issues that become exponentially more difficult and costly to remedy later.
Given the technicalities of tasks like appropriate surface profiling, proper application technique, adequate corner sealing, and stringent cure times, the guidance of an experienced professional remains highly advisable for virtually any waterproofing project to reduce liability. But for anyone in the dark, in this article we’ll cover the key consideration for anyone looking to waterproofing bathrooms practically.
10 Factors to Consider When Waterproofing Bathrooms
1. Surface Preparation
With the proliferation of epoxy products, determining the appropriate waterproofing solution can prove challenging. For waterproofing bathrooms, high-solids or 100% solids two-part epoxy formulations often suffice due to superior water resistance from higher resin content versus lower solids options.
However, weigh factors like project scope, expected water pressures and traffic volumes. Evaluate bond strength, chemical resilience and substrate versatility specifications during product selection.
While cost differs, avoid false economies—cheaper bids may signal subpar epoxy quality that compromises durability.
2. Choice of Epoxy Waterproofing Material
Comprehensive preparation of all surfaces prior to applying waterproofing materials is imperative. Thoroughly clean floors and walls to eliminate contaminants like oil, grease, wax or existing coatings that could inhibit adhesion. Grind down any protrusions and fill low areas to ensure a smooth, uniform substrate.
Additionally, address any cracks, holes or defects via patching to prevent moisture permeation under the membrane. Select appropriate tools for tasks like scraping, brushing, grinding to properly profile the surface. While not glamorous, proper surface prep greatly impacts the long-term performance of the waterproofing system.
3. Application Method
Applying epoxy involves more than basic coating procedures. Strictly follow manufacturer technical guidelines for pre-mixing resin and hardener to proper ratios, observing pot life windows and recoat timeframes.
Flouting instructions risks bonding failure. For optimal finish, apply with a squeegee then backroll to eliminate bubbles and ensure uniform thickness, taking care to prevent puddling. Achieving full, even coverage demands skill—there is little margin for error. Rushing through application jeopardizes performance. Exercising patience yields better results.
4. Sealing Joints and Gaps
While correctly installing the bathroom waterproofing membrane itself is crucial, inadequate sealing of joints and penetrations can still enable moisture intrusion behind the surface coating.
Use flexible polyurethane caulking to seal gaps along floor-wall interfaces, plumbing and fixtures poke-throughs, toilet bases and tub rims—any transition or termination point vulnerable to leakage. In high movement areas, embed reinforcing fabric within the caulk bead as well. Thorough sealing eliminates potential entry points for water migration behind the membrane.
5. Curing Time and Conditions
Resist the temptation to prematurely expose newly installed epoxy to water or traffic regardless of scheduling pressures. Most formulations require stringent cure times for maximum hardness, bonding and water resistance.
Equally important are proper temperature, humidity and airflow conditions during the vulnerable curing phase. Dust contamination can also impair performance. Strictly adhere to manufacturer technical guidelines related to appropriate cure schedules and environmental controls.
While expedient, breaching those parameters severely undermines epoxy integrity and longevity. Patience yields better long-term performance.
6. Maintenance and Longevity
Proper maintenance helps maximize the lifespan of any waterproofing application. For epoxy coatings when waterproofing bathrooms, we recommend periodic visual inspections to check for breaches or failures. Reapply caulking if gaps appear. Repair any cracks, holes or impact damage immediately to prevent moisture intrusion.
Also, avoid strong cleaners and abrasives—use manufacturer approved products only. With appropriate care, quality epoxy waterproofing should last 5-10 years or more before needing replacement. But neglect shortens that lifespan. Schedule maintenance checks to get ahead of problems. Protecting your investment calls for some diligence.
7. Quality Assurance and Warranty
With so many epoxy products now available, how can you gauge quality? Check for ISO 9001 certification and established brands with proven track records. Also ask about product testing standards. And absolutely verify any claims of being “waterproof” with third-party documentation.
No marketing hype—demand valid testing. For added assurance, select systems with robust manufacturer warranties covering at least 5-10 years against leaks, bond failures and defects when applied per their instructions. Be wary of steep discounts as that can signal cut corners. There’s real value in reliability and accountability from reputable suppliers.
8. Compatibility with Other Bathroom Materials
Will the epoxy waterproofing play nice with adjoining materials? Important question. Check manufacturer guidance on bonding with substrates like concrete, tile, drywall, metal and wood. Also verify compatibility with common bathroom finishes like natural stone, quartz, solid surfacing, laminate, glass and acrylic.
We have to consider galvanic corrosion risks too when next to metals. And what about with grouts and fixtures sealants? Any limitations or special primers needed? Getting surprises mid-project helps no one. Do that compatibility homework early when evaluating products to avoid adhesion issues later.
9. Compliance with Building Codes and Regulations
Navigating the codes can be complicated, but waterproofing installations absolutely must comply to avoid problems passing inspections or increased liability risks down the road. Requirements vary by location, but often mandate minimum dry film thickness, bonding strength, water penetration resistance and certifications.
For commercial bathrooms or multi-family dwellings, heightened standards usually apply for waterproof membranes beneath floors/walls. Adhering strictly to manufacturer application guidelines typically meets code. But we have to verify by checking our specific jurisdiction and project type to confirm current regulations. No excuses for non-compliant work.
10. Professional Installation vs. DIY
Waterproofing seems straightforward, but imperfect installation jeopardises performance. Between surface prep, proper mixing and application procedures, curing conditions and integration with other waterproofing bathroom components, there are ample opportunities for substandard work.
DIYers often lack the skills, tools and quality control measures to reliably get leak-proof, long-lasting results that comply with building codes. So while some products market themselves to homeowners, engagement with insured professional contractors certified by manufacturers is strongly advised for virtually any bathroom waterproofing project to reduce risks and liabilities for all parties.
FAQs
What are the most important surface preparation steps before waterproofing a bathroom?
We must thoroughly clean all the walls and floors to remove oil, grease, wax, flaky paint or anything else that prevents the epoxy from sticking well. Grind down any high spots or ridges to make the surface smooth. Fill in any low spots or dips where water might pool later. Repair any cracks, holes or damage we discover so that moisture cannot intrude under the epoxy later. Make sure to pick the right tools for scraping, brushing or roughening the surface too.
Why should we avoid cheap DIY epoxy waterproofing options for our bathroom remodel?
Those cheaper DIY epoxy kits often cut big corners that can lead to leaks or other big headaches down the road. They use lower quality epoxy materials with much shorter lifespans, and homeowners usually don’t have enough experience or the right tools to properly apply epoxy in a leakproof, long-lasting way. Hiring certified professional contractors is worth the investment to ensure the waterproofing lasts over 10 years.
Waterproofing Bathrooms: How it Should be Done
Professional input makes navigating codes and product specifications far smoother. Seek a certified contractor’s advice before resignedly putting up with persistent dampness or outright leaks.
If you have no idea how to get started or would like to get a better idea, why not reach out to a technician at construction care to talk you through and help guide you through the process.


